Bird watchers face a unique problem on the trail: holding 8x42 binoculars steady for minutes at a time exhausts the arms and ruins ID-critical detail. The fix is trekking poles for bird watchers binocular rest support — collapsible poles engineered with a V-cradle, threaded stud, or padded yoke at the grip that lets you brace optics against a stable point. In 2026, the best options convert from walking aid to spotting platform in seconds, weigh under 11 oz per pole, and use carbon shafts that don't transmit hand tremor. This guide covers what to look for, our top picks, and the companion gear that makes a half-day pelagic trip or warbler hunt actually comfortable.
Why a binocular rest changes the game for birders
Hand-held binoculars at 8x magnification reveal hand tremor within about thirty seconds. At 10x or 12x — common for shorebirders and raptor watchers — the shake is immediate and visible the moment you raise the optics. Studies of military and law-enforcement spotters consistently show that a single point of contact (a tree, a fence post, a pole) reduces angular shake by 60–80%. A trekking pole with a built-in cradle gives you that contact point anywhere you stand, which matters because warblers don't perch next to convenient tripods.
The secondary benefit is endurance. Holding a pair of mid-size binoculars to your face for ten minutes burns shoulder and bicep stamina you'd rather spend on the hike. Resting the eyepiece-end barrel in a cradle transfers that load to the ground. Birders we've spoken to on the Ramsey Canyon and Cape May circuits report being able to study a single mixed flock for 20+ minutes without arm fatigue once they switched.
What to look for in 2026
When evaluating trekking poles for bird watchers binocular rest applications, four features matter more than anything else: the cradle design at the grip, the shaft material, the lock mechanism, and the tip-and-grip ergonomics. Each shapes how the pole performs during a long observation session.
Cradle and attachment style
There are three dominant designs. A V-cradle machined into the grip top holds the binocular bridge naturally — fastest to use, no threading required. A 1/4"-20 threaded stud hidden under a screw cap turns the pole into a true monopod that accepts any tripod-mount binocular adapter or spotting scope head. A padded yoke wraps the barrels in foam for hand-held bracing without removing the binocular strap. Serious birders carrying scopes want the threaded stud; casual hikers who only carry binoculars are best served by a V-cradle.
Shaft material and weight
Carbon fiber transmits less vibration than aluminum and weighs 25–30% less per pole. The trade-off is impact resistance: a sharp side-load on a rock can crack carbon, where aluminum dents. For bird-watching specifically — where you walk slowly and don't bash through rocky scrambles — carbon is the right answer. Look for shafts in the 8.5 to 11 oz range per pole. Anything heavier defeats the steadying purpose because your shoulder will shake from the pole itself.
Locking mechanism
External lever locks (FlickLock-style) are faster to deploy and easier to fix in the field than twist locks. For bird watchers who collapse and extend poles repeatedly — sitting, standing, kneeling for a low warbler — lever locks save real time. Make sure the levers are aluminum, not plastic; plastic levers crack at -10°F, which matters if you chase boreal owls or do January snowy owl trips.
Tip, basket, and grip
Carbide tips bite into mud, ice, and rotting log surfaces. Rubber tip covers are essential for trail-only use to avoid damaging soft substrates around nesting areas. Cork grips wick sweat and don't get slippery; EVA foam is cheaper but slimes in humidity. A long EVA grip extension below the main grip lets you choke up when traversing a steep slope without re-adjusting pole length.
Top trekking pole approaches for birders
The threaded-stud monopod hybrid
This is the gold-standard setup for birders who also carry a 60mm spotting scope. The dominant pole's grip top unscrews to reveal a 1/4"-20 thread, accepting any binocular-tripod adapter (the Vortex, Nikon, and Zeiss adapters all run $20–40). Deploy time from walking to glassing is about four seconds. Carbon shafts in this category weigh 9–10 oz, which means a pair of poles plus an 8x42 binocular still totals under 32 oz — lighter than most birding rigs that omit the poles entirely.
The dedicated V-cradle birding pole
A few brands now ship poles with the V-cradle molded into the cork — no threading, no adapters, no fuss. You raise the binoculars, drop the bridge into the V, brace against your sternum, and study. The cradle is the right depth and angle for standard porro and roof prism binoculars from 30mm to 50mm objective. These are typically aluminum (cheaper) but at $60–90 for a pair they're the best entry-level choice for casual birders.
The convertible photography pole
Cross-over hikers who also do bird photography want a pole that accepts a ball head. Look for a 3/8"-16 thread option (the standard tripod size) rather than 1/4"-20, with shaft stiffness rated for at least 6 lb. A Sirui or Manfrotto-style ball head bolts straight on. This is overkill for binocular work but invaluable when a Bullock's oriole sits long enough for a 400mm telephoto shot.
Don't forget the companion daypack
A bird-watching trekking pole setup is incomplete without a pack that carries binoculars, a field guide, a spotting scope when needed, water, snacks, and rain protection — and that lets you stow the poles when both hands move to a scope or camera. Side compression straps, ice-axe loops repurposed as pole holsters, and a hydration-compatible main compartment are the features that matter. Below are the three packs we've vetted for birders in 2026.
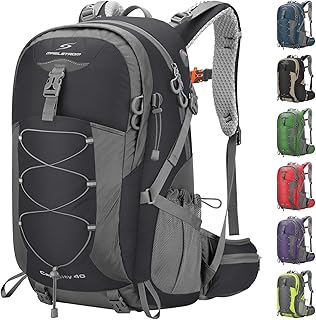
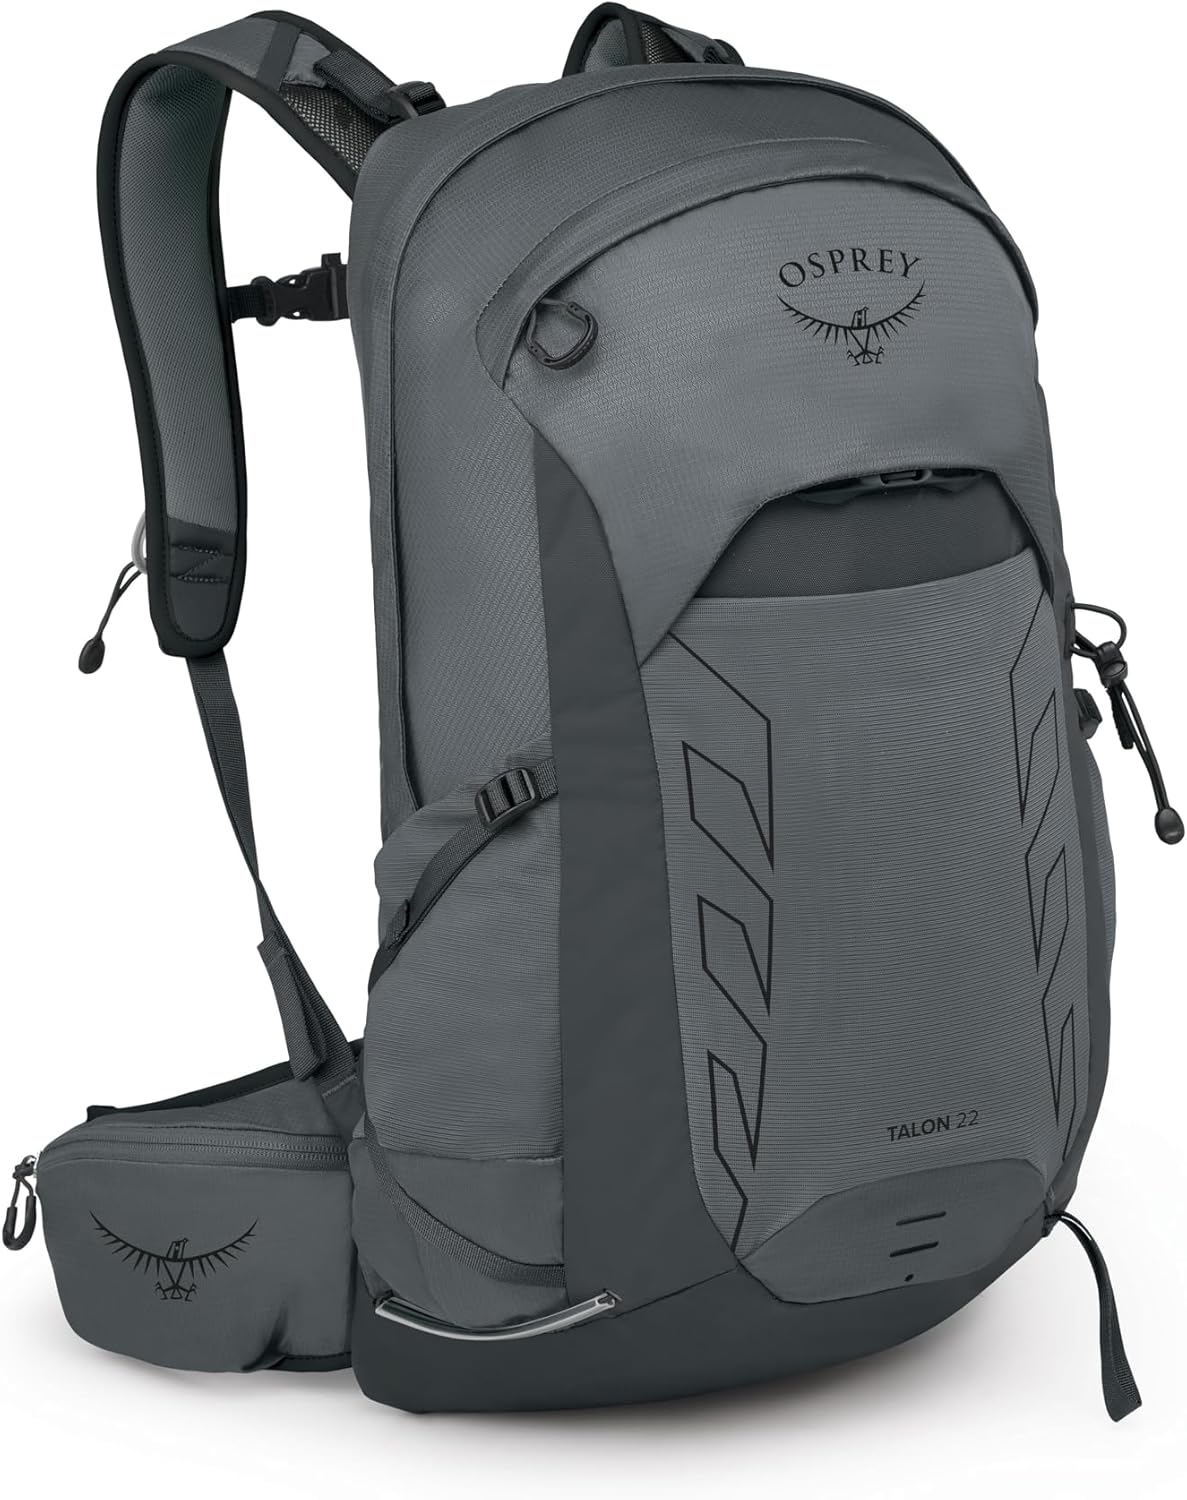
Maelstrom 40L Waterproof Hiking Daypack — best for full-day birding with scope
The Maelstrom 40L is the pack we recommend when you're carrying a spotting scope plus binoculars plus all-day food and water. Compression straps on both sides hold trekking poles vertically and securely, even when you're scrambling. The included rain cover matters more than birders expect — wet glass and wet field guides ruin a day. The internal frame is rigid enough that a 60mm scope tube tucked vertically doesn't sag against your back. Check the Maelstrom 40L on Amazon.
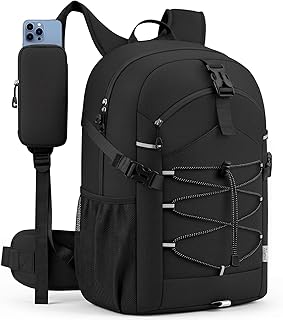
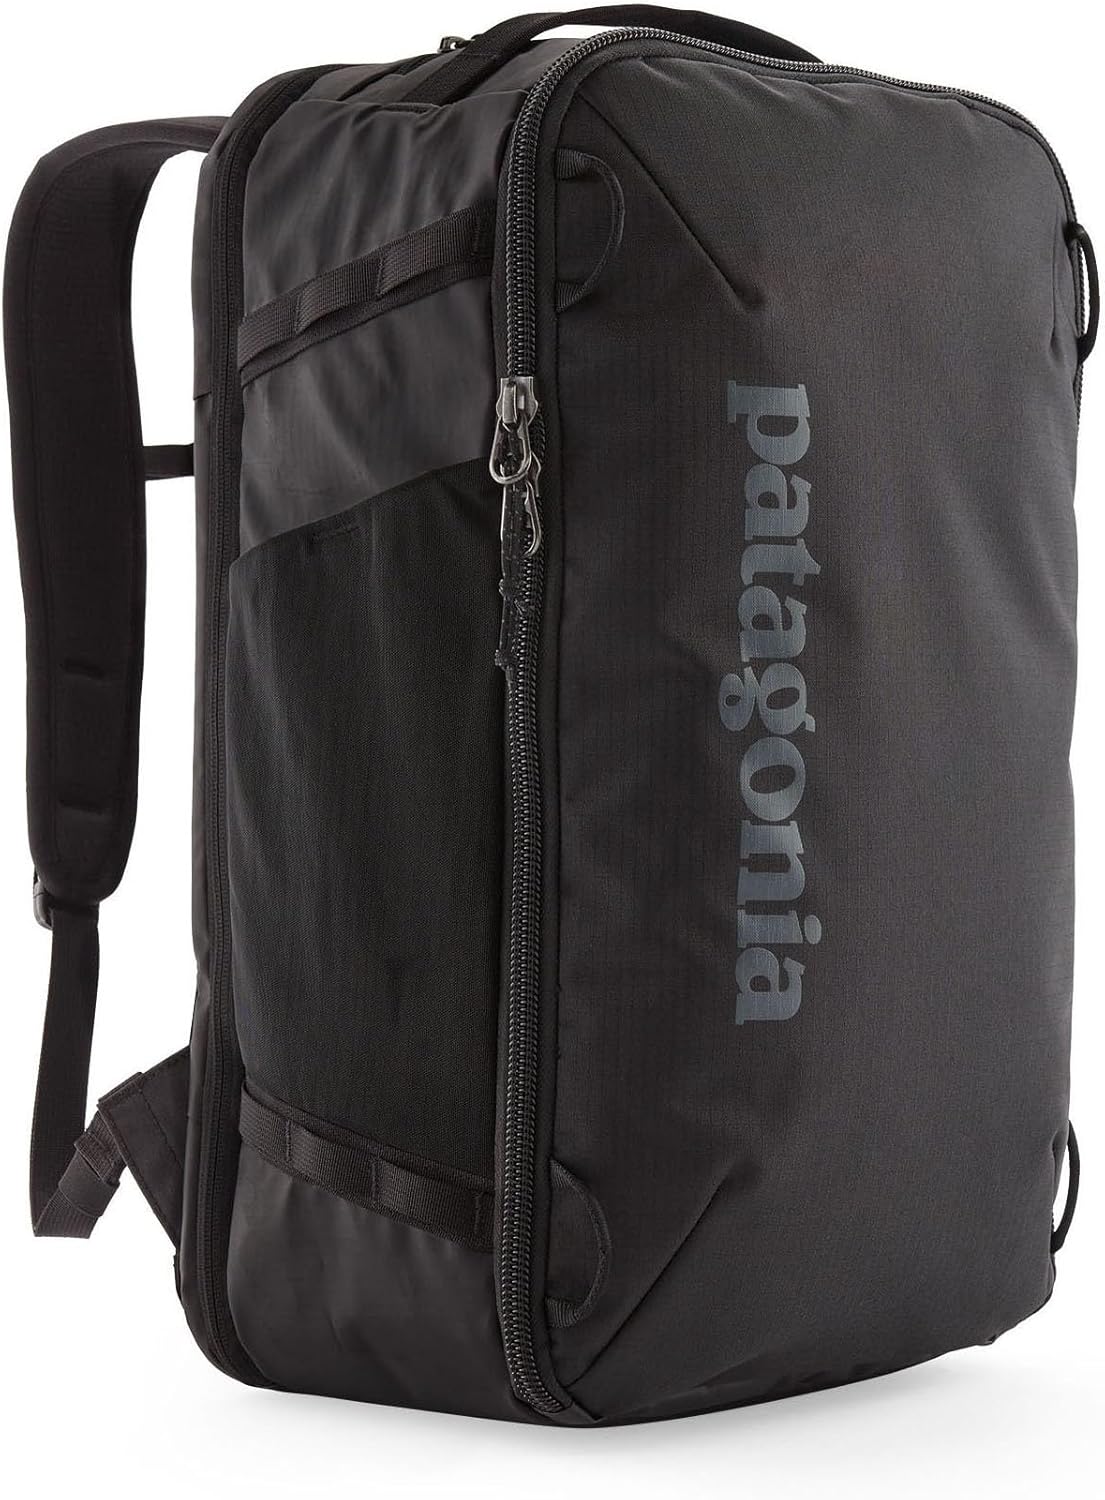
25L Lightweight Waterproof Hiking Daypack — best half-day balance
For half-day outings where the scope stays home, 25L is the sweet spot: room for binoculars, field guide, 2L of water, a rain shell, snacks, and your collapsed poles strapped externally. The waterproof shell shrugs off the kind of mist that grounds songbirds and turns hardware-store packs into sponges. Weight is under 1.5 lb empty, which matters when you stand still for long stretches and a heavy pack pulls on your shoulders. See current pricing on Amazon.
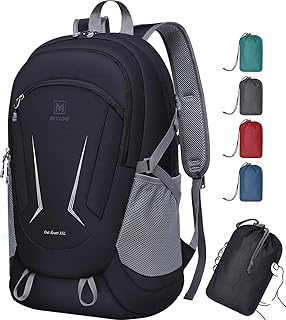
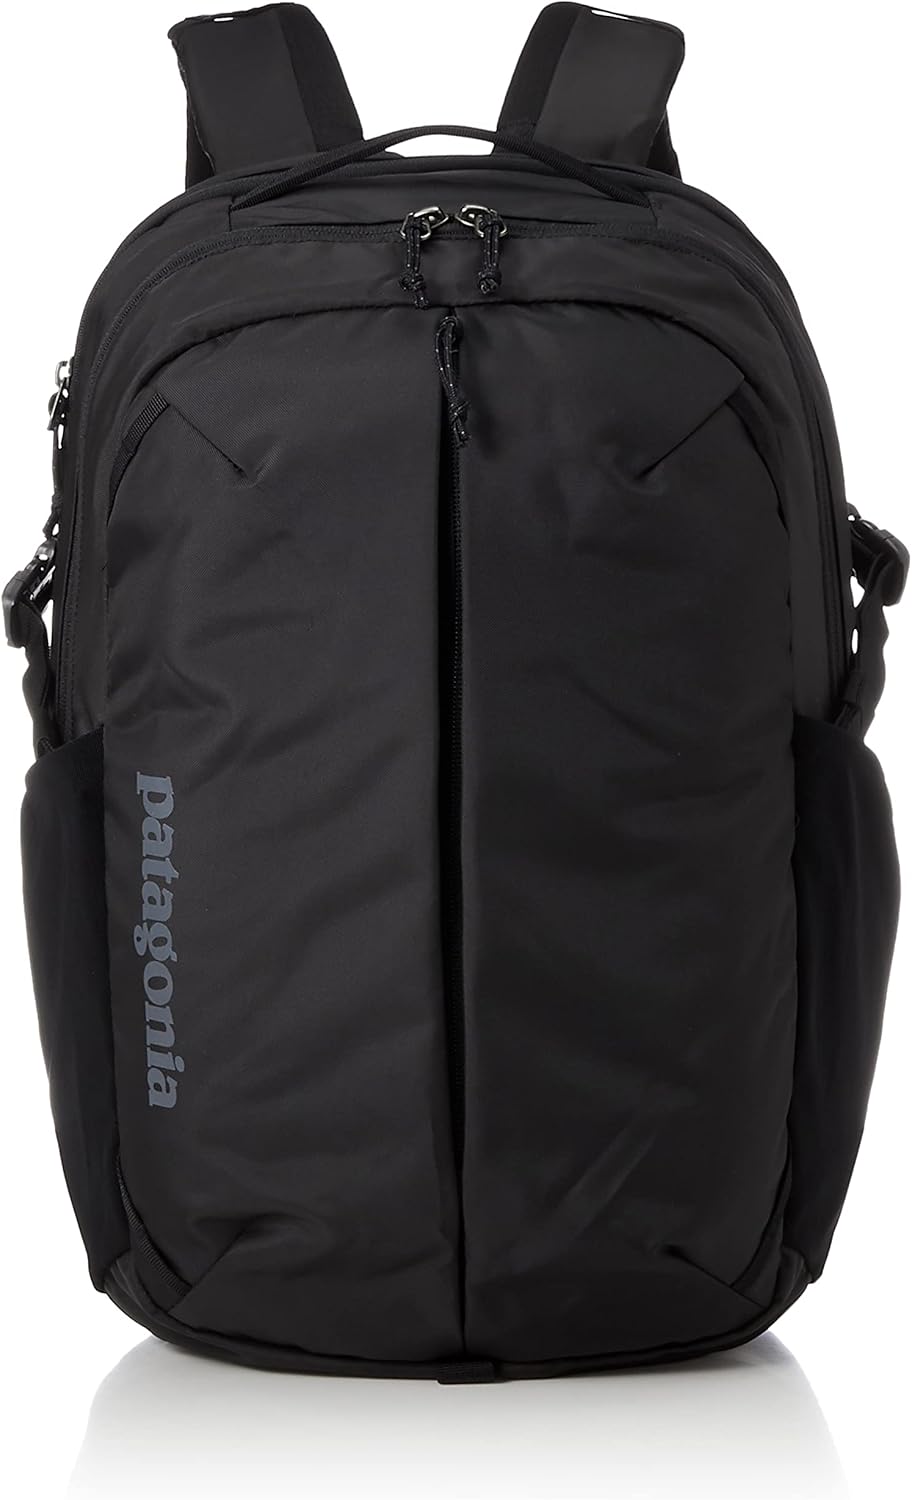
MIYCOO Ultra-Lightweight Packable Hiking Backpack — best stash pack for travel birders
Birders who fly to destinations — Costa Rica, Trinidad, the British Bird Fair — want a pack that crushes into a checked bag and unfolds at the trailhead. The MIYCOO packable weighs essentially nothing and serves as a backup or second-pack for a guide who carries the main kit. It's not the pack for hauling a scope, but it's the pack for an opportunistic afternoon trek when you didn't plan to bird. View the MIYCOO on Amazon.
Daypack comparison at a glance
| Pack | Capacity | Best for | Pole carry | Waterproof |
|---|---|---|---|---|
| Maelstrom 40L | 40 L | Full-day with scope | Dual side compression | Yes + rain cover |
| 25L Lightweight Daypack | 25 L | Half-day binocular trips | Side strap | Yes |
| MIYCOO Packable | ~20 L | Travel / stash use | External lash | Water-resistant |
Setting up the binocular rest correctly
Sounds obvious, but technique matters. Set the pole roughly 4–6 inches shorter than the height where your binoculars naturally come to your eyes when standing upright. The cradle should meet the binocular bridge with your elbows slightly bent — a fully extended arm transmits more shake than a slightly bent one. Brace the top of the pole against your sternum or the soft spot just below your collarbone, not against your forehead, which transfers heartbeat into the view. When using trekking poles for bird watchers binocular rest support on a slope, plant the pole tip uphill of your stance and lean slightly into the pole; this dampens lateral shake more than a vertical brace does.
If you're standing on uneven ground, two poles is meaningfully steadier than one. Use the dominant-hand pole as the cradle and the other as a leaning brace at a 30-degree forward angle. With both poles deployed this way, vibration drops to near-tripod levels even at 10x.
For more on adjacent gear, see our guides on best trail shoes for birdwatchers, best binoculars for hiking under $300, and best hiking daypacks under 30L.
Frequently Asked Questions
Can you really use trekking poles as a binocular rest instead of a tripod?
Yes — for binoculars up to 50mm objective, a quality trekking pole with a V-cradle or threaded stud delivers 70–85% of the steadiness of a full tripod, at a fraction of the weight and zero setup time. For full-size spotting scopes at 60x magnification, you still want a tripod; the pole gets you in the right ballpark at lower powers but doesn't replace a fluid head for digiscoping.
Are carbon fiber poles strong enough for daily bird-watching use?
Yes, when used as intended. Carbon poles handle vertical compression (the load when you lean on them while walking) extremely well. They fail when struck laterally against rock or twisted under load. Bird watchers generally walk slowly on improved trails, so carbon's downsides rarely appear in practice. Aluminum is the more rugged choice only for off-trail scrambling.
What's the best trekking pole length for a 5'10" birder?
The walking-mode length is roughly 50% of your height — about 110 cm for a 5'10" user. For binocular bracing, drop the length 10–15 cm shorter than walking mode so your bent elbows do the fine-aiming work. Most modern poles adjust from 100–130 cm, so a single pair covers both modes.

Do I need two poles for binocular stabilization or is one enough?
One pole works on flat, hard ground when you brace the top against your chest. Two poles is meaningfully steadier on slopes, soft substrate, or any time you're studying birds for more than a few seconds. We recommend buying as a pair — the second pole adds maybe 9 oz to your kit and pays for itself the first time you study a distant raptor in wind.
Will trekking poles scare birds when you set them up?
Slow movement matters more than gear. Extending lever-lock poles makes a sharp click that can flush close songbirds; pre-extending the poles before you approach a known active spot avoids this. Twist-lock poles are quieter to deploy but slower. Most experienced birders set pole length once at the trailhead and lock it for the day.
What's the difference between a monopod and trekking poles for binocular rest use?
A dedicated photo monopod is heavier (1.5–2 lb), has no walking-mode ergonomics (no grip extension, no straps), and usually doesn't collapse small enough to pack discreetly. Trekking poles with binocular cradles or threaded studs do double duty — they support your knees on the descent and your optics at the lookout. For birders who are also hikers, poles win every time.
How do I pack trekking poles on a daypack for bird watching?
Use the side compression straps if your pack has them, with tips down and grips up — the grips are wider than the shafts and act as a stop against the strap. If you only have one strap, lash the poles together first with a Velcro tie. Avoid bungee cord; it lets the poles bounce, which can scare birds and snag low branches. For more, see our guide on hiking pole storage techniques.
Key Takeaways
- Choosing the right trekking poles for bird watchers binocular rest means matching capacity and output ports to your actual devices
- Always check actual watt-hours (Wh), not just watts — runtime depends on Wh, not peak output
- Also covers: birding trekking pole monopod
- Also covers: poles binocular stabilizer attachment
- Also covers: bird watcher hiking pole accessory
- Compare price-per-Wh across models to find the best value for your budget