To replace carbide tips black diamond distance carbon trekking poles, you need a Black Diamond Tech Tip replacement (sold as a pair), a small butane lighter or boiling water, locking pliers or a bench vise with soft jaws, blue threadlocker (Loctite 242), and roughly 15 minutes per pole. The carbide tip threads into a steel insert bonded into the bottom of the lower carbon shaft. Heat the existing tip for 20-30 seconds to soften the factory threadlocker, grip it with pliers, unscrew counter-clockwise, clean the threads with a Q-tip and isopropyl alcohol, apply one drop of blue threadlocker to the new tip, and hand-thread it in until snug plus a quarter turn with pliers. Let it cure 24 hours before your next hike.
Why Distance Carbon Tips Wear Out (And When to Replace)
The Distance Carbon Z and Distance Carbon FLZ poles use Black Diamond's Tech Tip system: a tungsten-carbide spike threaded into an aluminum or steel collar epoxied to the carbon shaft. Carbide is hard, but it isn't immortal. Scree, granite slabs, frozen dirt, and concrete approach trails all chew through the tip. Most ultralight hikers see noticeable wear after 600-900 miles, and full tip failure (the carbide nub breaks off or rounds into a useless dome) around 1,200-1,800 miles depending on terrain.
Three signs it's time to replace carbide tips black diamond distance carbon trekking poles before your next big trip:
- Visible flat spot or dome. The tip should look like a sharp pencil. A flat dome means zero bite on wet rock.
- Slipping on familiar terrain. If you're suddenly skating on slabs you've crossed a hundred times, the tip is rounded.
- A wobble or rattle. The carbide insert can loosen inside its collar. If you hear a faint tick when you tap the pole, the bond is failing.
Tools and Parts You Need in 2026
Black Diamond sells the official replacement as the "Tech Tip Replacement Kit" - one pair, fits all Distance Carbon, Distance FLZ, and Distance Z poles made from 2014 onward. Avoid the off-brand carbide tips sold as "universal" - the thread pitch on Distance Carbon poles is M6x0.75, and a slightly off-spec tip will cross-thread the collar and ruin the pole.
Your full kit:
- Black Diamond Tech Tip Replacement Kit (1 pair)
- Mini butane lighter or kettle of boiling water
- Locking pliers (Vise-Grips) or bench vise with leather/rubber soft jaws
- Loctite 242 (blue) threadlocker - never use red Loctite 271, you'll never get the tip off again
- Cotton swabs and 91% isopropyl alcohol
- Old shop rag
- Optional: digital calipers to confirm thread spec if you suspect a fake tip
Step-by-Step: Replace Carbide Tips Black Diamond Distance Carbon Trekking Poles
Step 1 - Soften the factory threadlocker
The factory uses a medium-strength threadlocker that cures hard. Cold removal will round the hex flats on the tip and may twist the entire steel collar loose from the carbon shaft - a much worse repair. Hold a butane lighter flame on the carbide tip for 20-30 seconds, or dip the bottom inch of the pole in just-boiled water for 60 seconds. You want the tip warm to the touch but not glowing.
Step 2 - Grip and unscrew
Clamp locking pliers across the flats of the carbide tip (most Distance tips have two small hex flats below the spike). If your tip is too worn to grip on the flats, clamp across the spike itself - you're throwing it out anyway. Hold the pole shaft just above the collar with your other hand wrapped in a rag (do not grip the carbon any harder than necessary; you can crush it). Turn the pliers counter-clockwise. The tip should break free within a quarter turn.
Step 3 - Inspect the collar
Look inside the steel collar with a flashlight. You should see clean threads. If you see flakes of dried threadlocker, dig them out with a wooden toothpick. If you see a black ring of epoxy oozing into the threads, the collar bond is failing - stop here and send the pole to Black Diamond's repair program. Trying to install a new tip over a loose collar will rip it out on your next hike.
Step 4 - Clean
Soak a cotton swab in 91% isopropyl alcohol and scrub the female threads inside the collar. Let it air dry for 60 seconds. Any residual oil or solvent will keep the threadlocker from curing.
Step 5 - Apply threadlocker
One single drop of blue Loctite 242 on the male threads of the new tip. Do not coat the entire tip - excess will squeeze into the collar and contaminate the carbon-to-collar epoxy joint. One drop, rotated around the threads, is enough.
Step 6 - Install
Hand-thread the new tip clockwise. It should turn easily for 4-5 full rotations and then snug up. Use locking pliers to finish: tighten until firm, then add a quarter turn. Stop there. Over-torquing strips the M6x0.75 threads and there is no recovery from that short of replacing the entire lower section.

Step 7 - Cure
Stand the pole tip-up and let the threadlocker cure for 24 hours at room temperature. Blue Loctite reaches handling strength in 4 hours and full strength in 24. Hiking on a half-cured tip is the single most common reason a fresh tip backs out on trail.
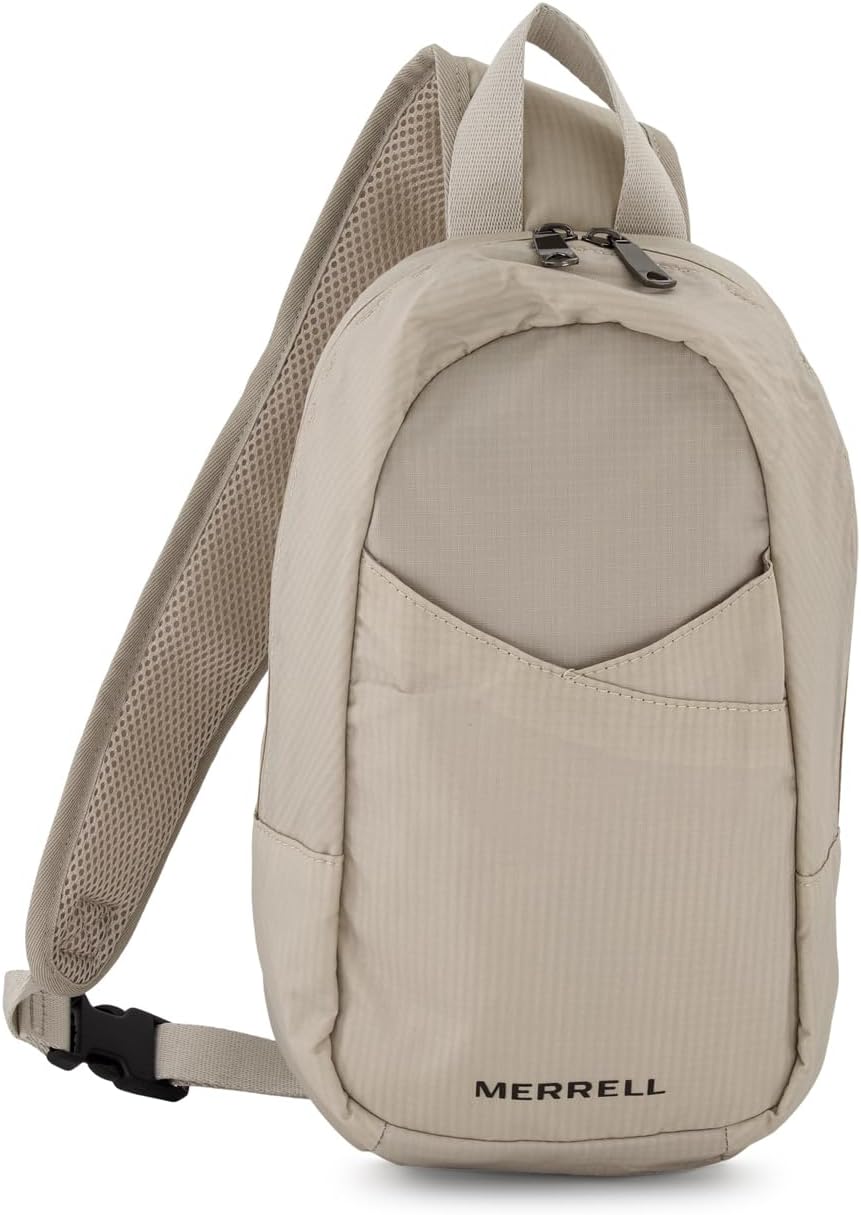
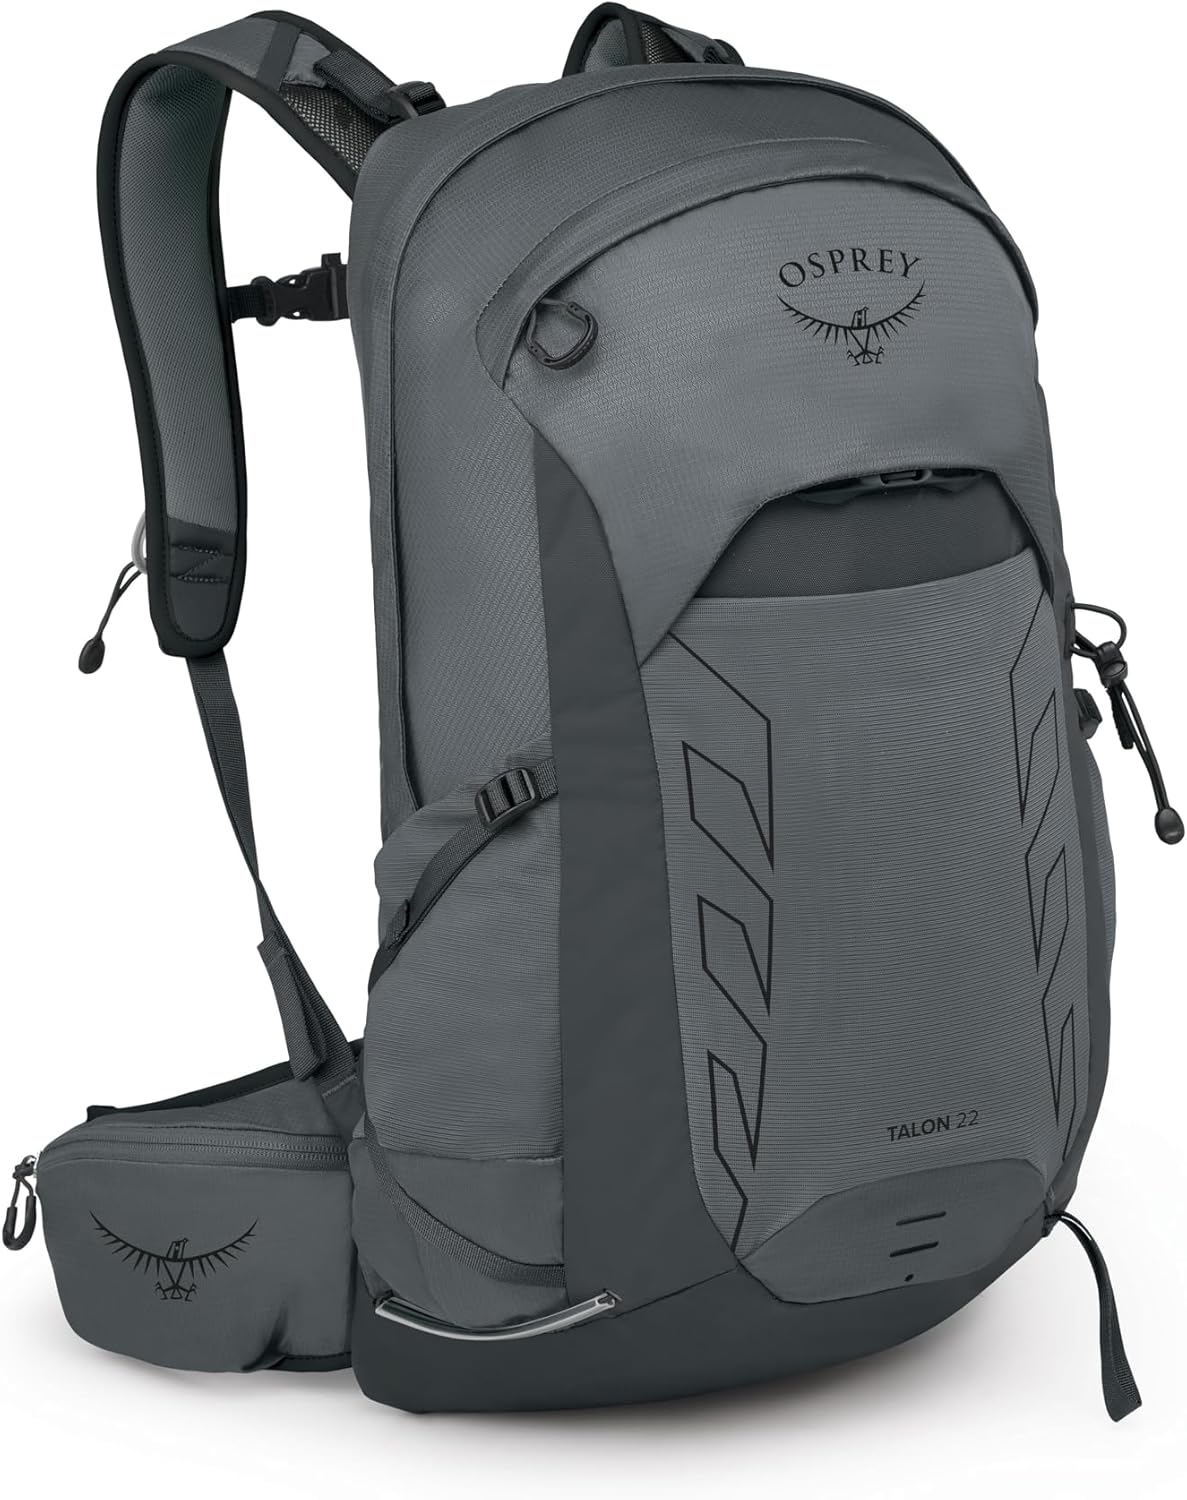
Comparison: Daypacks to Carry Your Repair Kit on Trail
Most hikers carry a small field repair kit (spare tip pair, mini Loctite, lighter, multi-tool) on long thru-hikes or alpine pushes. If you're shopping for a daypack to hold your repair kit alongside the rest of your kit, here are three options that fit the bill in 2026:
| Pack | Volume | Waterproof | Best For |
|---|---|---|---|
| Maelstrom 40L Hiking Daypack | 40L | Yes + rain cover | Multi-day with full repair kit |
| 25L Lightweight Hiking Daypack | 25L | Yes | Day hikes, short overnights |
| MIYCOO Packable Backpack | ~20L | Water-resistant | Stuffable spare / summit pack |
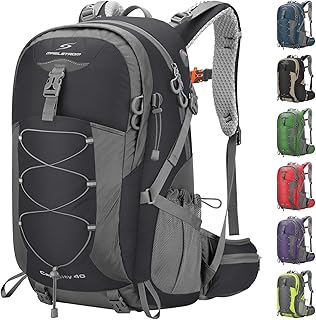
Maelstrom 40L Waterproof Hiking Daypack with Rain Cover
If you're heading out for three to five days and want to carry the full repair kit plus a spare pole section, the 40L Maelstrom has enough internal volume and external lash points to handle it. The included rain cover keeps your Loctite and lighter dry during shoulder-season storms, which matters because threadlocker chemistry doesn't love getting wet. Side mesh pockets fit the pole tips in their packaging. View on Amazon.
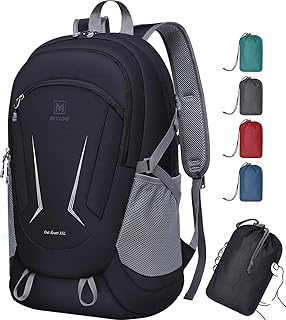
25L Lightweight Waterproof Hiking Daypack
For day hikes where you only need a backup tip pair and a mini multi-tool, the 25L pack hits the sweet spot. It's light enough that you won't notice it on a 12-mile out-and-back, and the waterproof shell means a stream crossing won't wreck the kit. View on Amazon.
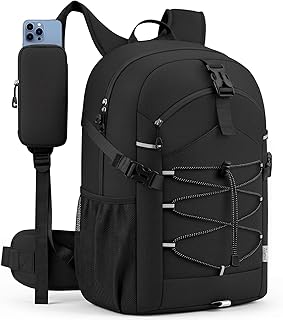
MIYCOO Ultra-Lightweight Packable Hiking Backpack
Some hikers stuff a packable second bag into their main pack so they have a summit-day pack at base camp. The MIYCOO weighs almost nothing and folds into its own pocket, so the repair kit + a water bottle + a layer fits with room to spare. Useful if you're hiking with carbon poles in alpine terrain where you actually need the repair kit at altitude. View on Amazon.
Pro Tips From a Decade of Distance Carbon Repairs
- Replace tips in pairs. If one is worn, the other is within 50 miles of being worn. Swap both at the same workbench session and they'll wear evenly going forward.
- Mark your install date. A tiny dot of nail polish on the upper shaft with the year written underneath the strap tells you at a glance when these tips went on.
- Don't store poles tip-down. Gravity slowly works on the threadlocker bond. Store horizontal or tip-up.
- Skip the rubber tip protectors during install. They can hide a half-installed tip until it backs out 6 miles from the trailhead.
- Carry a backup pair on any trip longer than 4 days. Tips weigh 8 grams together. There's no excuse not to.
If you're new to maintaining ultralight carbon poles, check our guide to trekking pole maintenance for 2026 for a full season-by-season schedule. For pole selection broadly, see our roundup of the best carbon trekking poles for thru-hiking. And if you're prepping for a long trail, our ultralight backpacking gear list covers what pairs well with Distance Carbon poles.
When to Stop DIY and Send Poles to Black Diamond
The Tech Tip is user-replaceable. The steel collar bonded to the carbon shaft is not. If you discover during Step 3 that the collar is loose, cracked, or rotating independently of the carbon, stop. Black Diamond runs a flat-rate repair program (~$25 per section as of early 2026) that swaps the entire lower shaft. Trying to re-epoxy the collar yourself almost always ends in a snapped carbon section on the first downhill.
Frequently Asked Questions
Can I use generic carbide tips instead of Black Diamond Tech Tips on Distance Carbon poles?
Technically yes if the thread spec matches M6x0.75, but in practice the off-brand tips sold as "universal trekking pole tips" use M6x1.0 or proprietary pitches and will cross-thread the steel collar. Cross-threading is non-recoverable - you'll either ruin the collar or strip the new tip on first install. The official Black Diamond Tech Tip Replacement Kit is around $15 for a pair and is the only safe choice.
How long do carbide tips last on Black Diamond Distance Carbon poles?
Expect 600-900 miles of noticeable wear and 1,200-1,800 miles before full tip failure, depending on terrain. Granite slab and concrete approach trails are the worst offenders. Pacific Crest Trail thru-hikers typically replace tips once during the trip; Appalachian Trail thru-hikers often finish on the original set because softer trail surfaces wear them more slowly.
What's the difference between the Tech Tip and the Flex Tech Tip on Distance Carbon Z poles?
The standard Tech Tip is rigid carbide and threads directly into the steel collar. The Flex Tech Tip adds a small elastomer dampener between the carbide and the collar, reducing impact on hard surfaces. They use the same thread pitch and are interchangeable, but the Flex version costs slightly more and wears faster on abrasive terrain. Most ultralight hikers stick with the standard rigid Tech Tip.
Can I sharpen a worn carbide tip instead of replacing it?
You can extend tip life by 50-100 miles with a diamond file or sharpening stone, taking care to maintain the original 30-degree cone angle. Beyond that, you're filing away too much carbide and the spike becomes too short to bite. Once the tip is less than 2mm of carbide above the collar, replace it - sharpening further just delays the inevitable while making the pole skid more.
Do I need to remove the rubber tip protector before installing new carbide tips?
Yes - install the new carbide tip on the bare collar, let it cure for 24 hours, and then slide the rubber tip protector over the finished assembly only if you're hiking pavement or a hut approach. Installing the rubber protector first can hide a partially seated tip and lead to install failures you won't catch until you're 6 miles in.
Why is my new carbide tip wobbling after I installed it?
Wobble after install almost always means the threadlocker didn't fully cure or you didn't degrease the threads. Pull the tip, clean both male and female threads with fresh isopropyl alcohol, dry completely, apply a single drop of blue Loctite 242, hand-thread plus quarter turn with pliers, and let it cure 24 hours undisturbed. If it still wobbles after a proper second install, the steel collar bond to the carbon shaft is compromised and the pole needs Black Diamond's repair service.
Can I replace carbide tips on Distance Carbon Z poles in the field during a thru-hike?
Yes, but the threadlocker cure time is the constraint. Carry a tip pair, a single-use Loctite 242 capsule, and a mini multi-tool with pliers. Replace the tip at camp in the evening, let it cure overnight (12 hours is acceptable for emergency field repair vs the recommended 24), and hike on it the next morning. Skip the lighter step - in the field, just use brute force with the multi-tool to break the factory threadlocker.
How much does it cost to replace carbide tips on Black Diamond Distance Carbon poles in 2026?
The Black Diamond Tech Tip Replacement Kit runs $14-18 for a pair in early 2026. Add a small bottle of blue Loctite 242 ($6-8) which lasts dozens of repairs. Total first-time cost is around $22; subsequent replacements cost only the tip kit since you'll still have Loctite. Sending poles to Black Diamond's repair program for a full lower-section swap is around $25 per section plus shipping.
Key Takeaways
- Choosing the right replace carbide tips black diamond distance carbon trekking poles means matching capacity and output ports to your actual devices
- Always check actual watt-hours (Wh), not just watts — runtime depends on Wh, not peak output
- Also covers: black diamond pole tip replacement guide
- Also covers: distance carbon worn tip swap
- Also covers: trekking pole carbide tip repair
- Compare price-per-Wh across models to find the best value for your budget